


Table of Contents Show
Does anyone remember those muesli bars that used to have a sprinkling of chocolate chips on the top? I think I ate one every day for the whole of 2003. I hated those bars! I’d always look at it in my lunchbox and think, Mum if you love me you’d give me straight-up chocolate.
This is not chocolate. It is a sham! Seriously, it would take me over ten minutes to pick off each piece of chocolate so I could save them until last! Talk about life’s challenges.
Nowadays I’m addicted to adding chocolate chips. Does this mean I’ve become marvelously sophisticated in my older years? Now that I can tolerate my chocolate to be tempered by oats and other such goodies? I like to think so.
Today I woke up and wanted to recreate those muesli bars of my youth, but not a bland, sugary version like the original. These bars here are full of healthy things and far tastier! (Plus it has some chocolate…shhh).
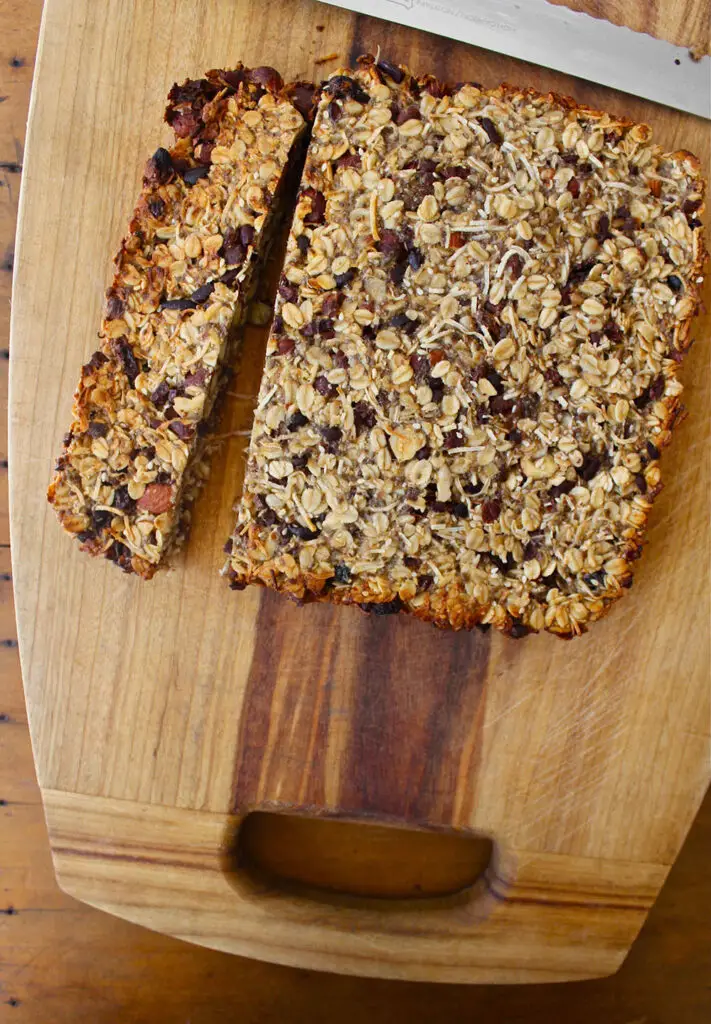
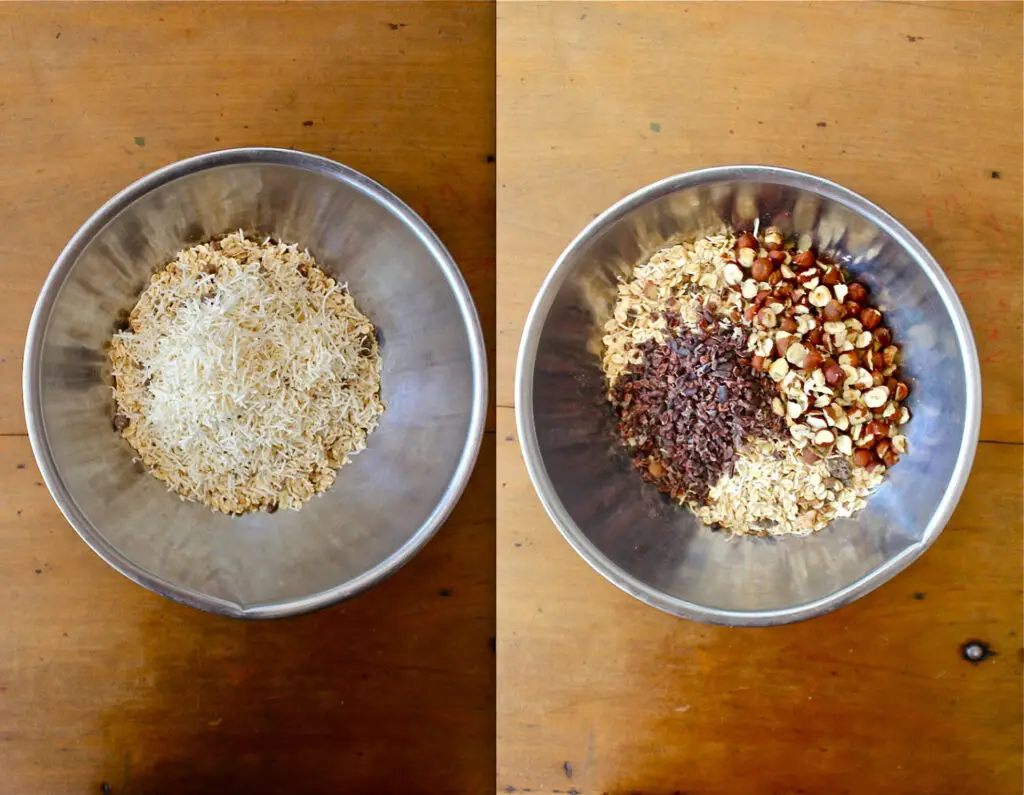
These have an Italian vibe from the cocoa nibs and hazelnuts. Cocoa nibs are wonderful chocolatey pieces of the un-processed cocoa bean. They aren’t sweet, just super chocolatey.
I’m always trying to find a perfect home for them because unlike some, I don’t really like them tucked into things like brownies and cookies. Those places need real chocolate chips that melt in your mouth. Muesli bars proved the perfect home because they’re meant to be chewy and dense.
And these bars are sweet enough all ready to bring out the best chocolate flavor.
I based this recipe on a wonderful granola bar recipe at My New Roots. I fully intended to spend the day reading and experimenting with lots of different recipes and coming up with my own, but I am so creatively exhausted from cooking and blogging at the minute.
The last few weeks before I leave I think I’ve made fifteen posts to carry through until February…And when you see such perfect, nutritional, and expert recipes on beautiful blogs like this, sometimes it’s nice just to acknowledge how much we can learn from others.
While some of the best things I’ve ever made have come from my own experimenting and recipe building, sometimes the nicest things to make are from a trusted recipe made with love by someone else.
There’s something very therapeutic about pulling a cookbook off the shelf and flicking to the most smudged page, barely needing to read the recipe anymore because you know it so well.
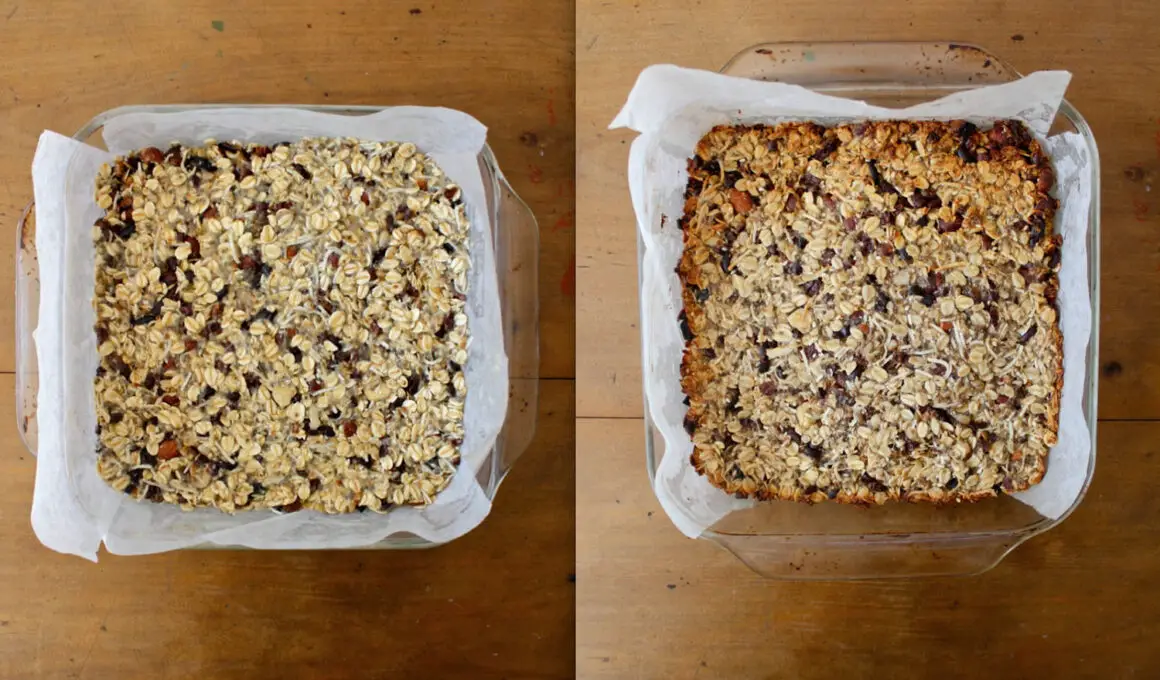
You can add in little twists to make it your own, but you rest safely in the knowledge that the recipe is strong enough to carry you through without it being a guessing game. These bars rest on a base of chia, banana, agave, olive oil, and coconut butter.
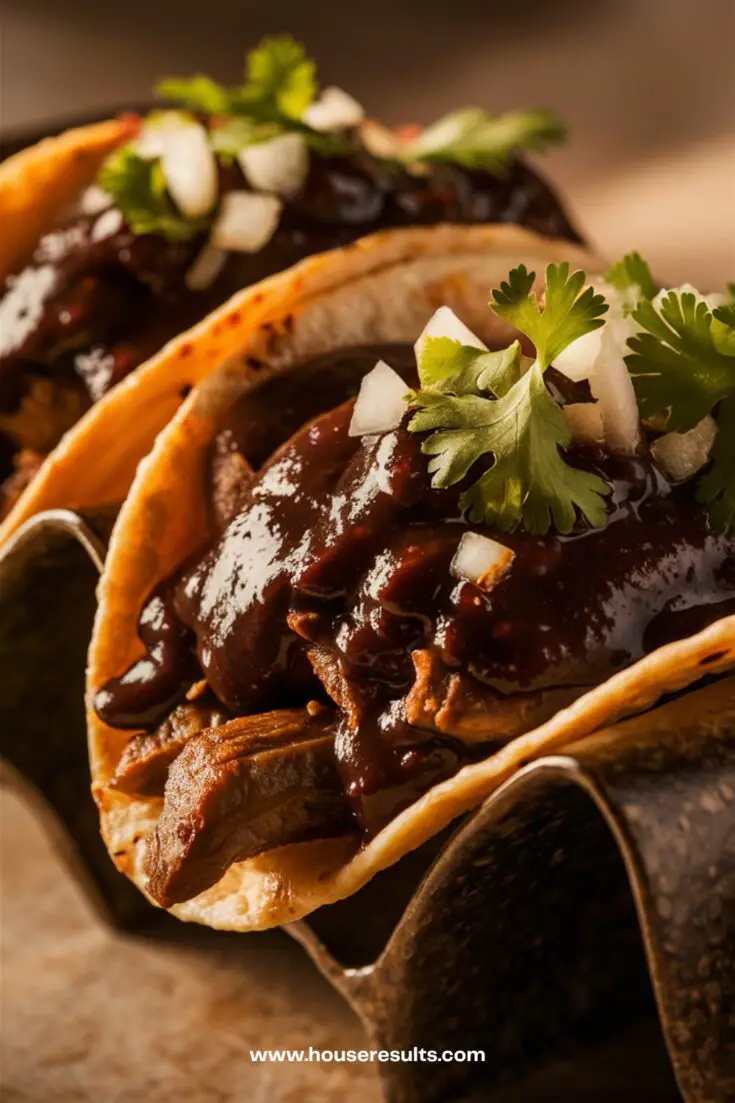
Chocolate and Chili Tacos
This recipe is perfect for those who love to experiment with bold flavors and enjoy a bit of heat in their meals. Plus, it's easy to make and sure to impress your family and friends.
Ingredients
For the meat
- 1 lb (450g) beef or pork, cut into small pieces
- 1 tablespoon olive oil
- 1 teaspoon salt
- 1 teaspoon black pepper
- 1 teaspoon cumin
- 1 teaspoon paprika
For the Chocolate-Chili Sauce:
- 1 tablespoon olive oil
- 1 medium onion, finely chopped
- 3 cloves garlic, minced
- 1 tablespoon chili powder
- 1 teaspoon ground cinnamon
- 1 teaspoon ground cumin
- 1/2 teaspoon smoked paprika
- 1/2 teaspoon cayenne pepper (optional, for extra heat)
- 1 cup (240ml) beef or chicken broth
- 1/2 cup (120g) tomato sauce
- 1 ounce (30g) dark chocolate, chopped
- 1 tablespoon brown sugar
- Salt and pepper to taste
For the Toppings:
- 1/2 cup fresh cilantro, chopped
- 1/2 medium onion, finely diced
- Lime wedges (optional)
- Corn or flour tortillas
Instructions
Prepare the Meat:
- In a large skillet, heat 1 tablespoon of olive oil over medium-high heat.
- Season the meat with salt, black pepper, cumin, and paprika.
- Add the meat to the skillet until browned and cooked, about 8-10 minutes. Remove from the skillet and set aside.
Make the Chocolate-Chili Sauce:
- In the same skillet, heat 1 tablespoon of olive oil over medium heat.
- Add the chopped onion and cook until softened about 5 minutes.
- Add the minced garlic and cook for another minute.
- Stir in the chili powder, ground cinnamon, ground cumin, smoked paprika, and cayenne pepper (if using). Cook for 1-2 minutes until fragrant.
- Pour in the beef or chicken broth and tomato sauce, stirring to combine.
- Add the chopped dark chocolate and brown sugar, stirring until the chocolate is melted and the sauce is smooth.
- Season with salt and pepper to taste.
- Reduce heat to low and let the sauce simmer for 10-15 minutes, allowing the flavors to meld together.
Combine and Serve:
- Return the cooked meat to the skillet with the chocolate-chili sauce, stirring to coat the meat evenly.
- Warm the tortillas in a separate skillet or microwave.
- Assemble the tacos by placing a portion of the meat and sauce mixture onto each tortilla.
- Top with fresh cilantro and diced onion.
- Serve with lime wedges on the side, if desired.
I made a few changes mainly to suit what I had, and because the coconut butter I had was so solid I literally couldn’t scrape any more of it out of the jar. Feel free to make your own alterations.
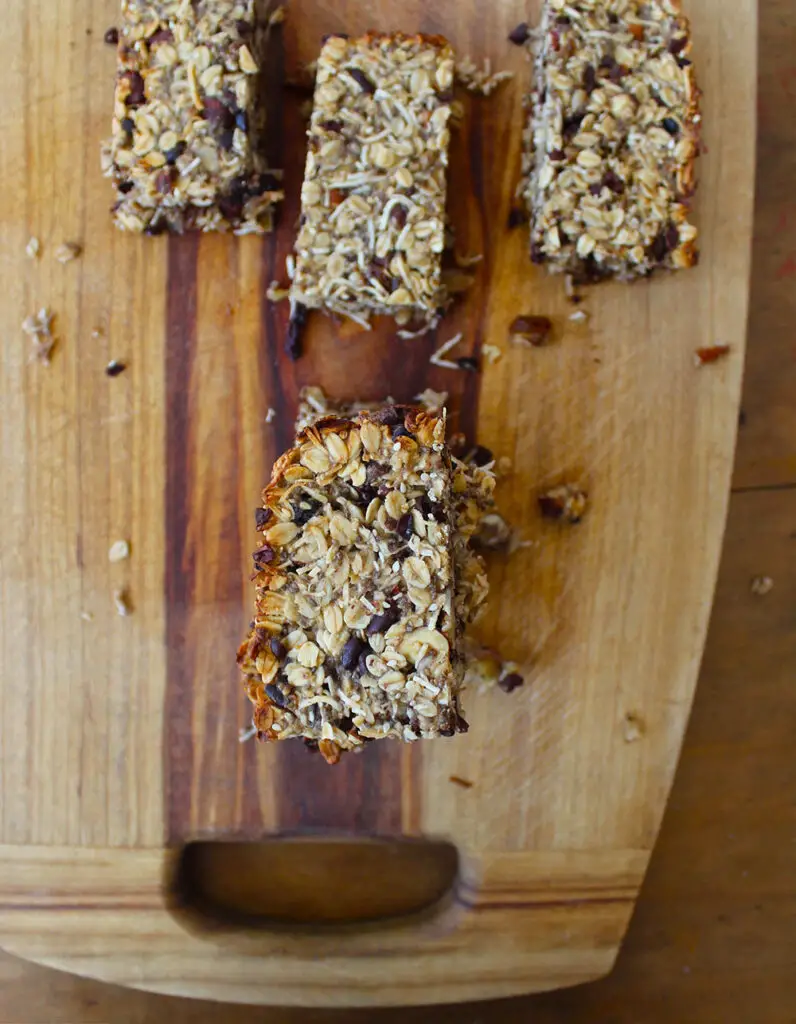
These bars are sturdy and soft instead of super chewy, like some oat bars. I know you’ll love them ![]() So go make them!
So go make them!
Photos & Recipes by Lillian Crowther Gibson. Sugar&Cinnamon.